What to expect at your first scalp micropigmentation session?
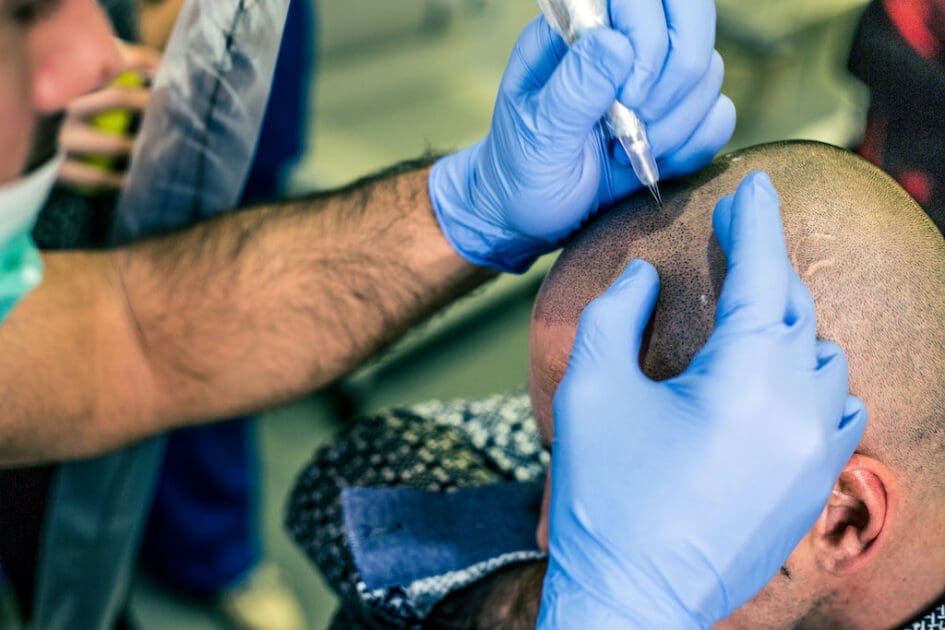
Once you’ve made the decision to get scalp micropigmentation (SMP), the next step, of course, is to actually get it done. Many people feel a natural mix of excitement and nervousness upon preparing for their first scalp micropigmentation session. With procedures in general, the more educated you are on the process, the more you’re able to prepare for what to expect.
Based on what they’ve read, many people will have their own expectations on their first scalp pigmentation session. Some SMP clinics will have their own guidelines on handling the first session. However, most places will have a similar process to ensure you get the results that you want. As always, trained specialists at Scalp Micro USA are available to answer any and all questions you may have.
Read on to learn more about your first scalp micropigmentation session.
Initial Discussion
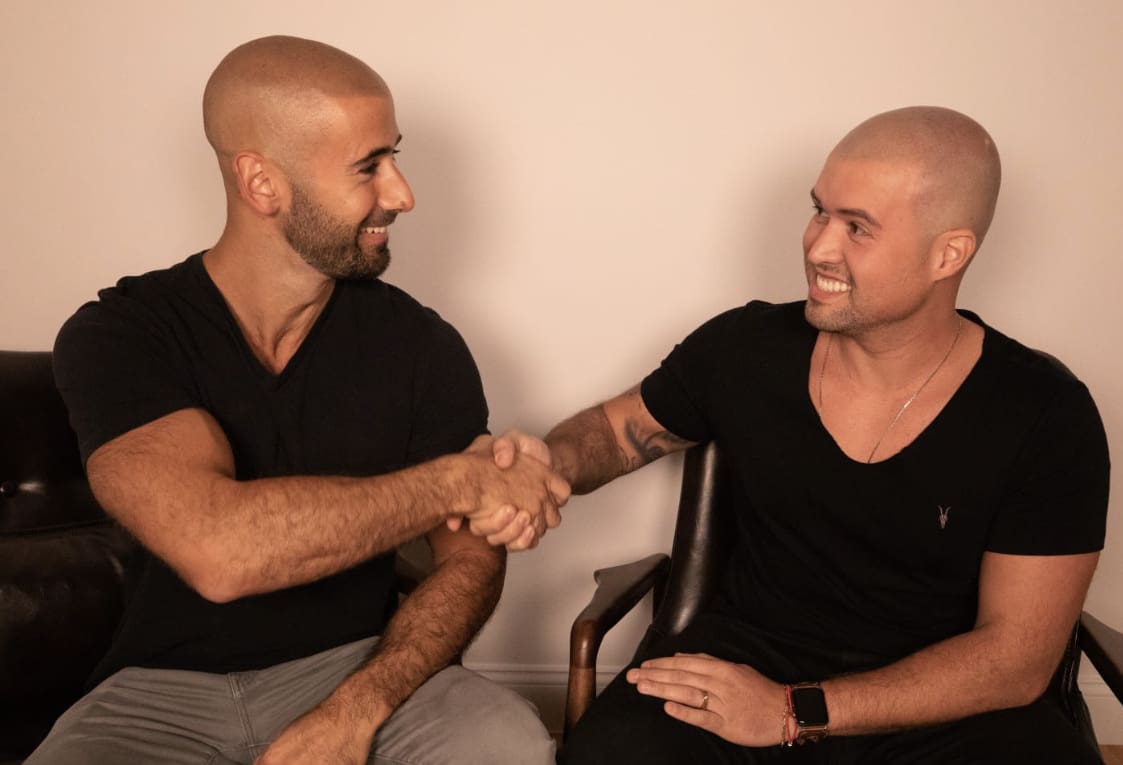
At your first session, you’ll have already met your micropigmentation specialist. During your consultation, you’ve had chance to sit down and consult your specialist on what you’re looking for, hairline style, expectations, and if the treatment is right for you.
By this point, you’ve also taken care of any financing or costs associated with the treatment. Your specialist will then do a brief recap and review on the look you’re hoping to achieve. This would be a good time to bring up any additional points you’d like your specialist to know before starting.
Hairline Mockup
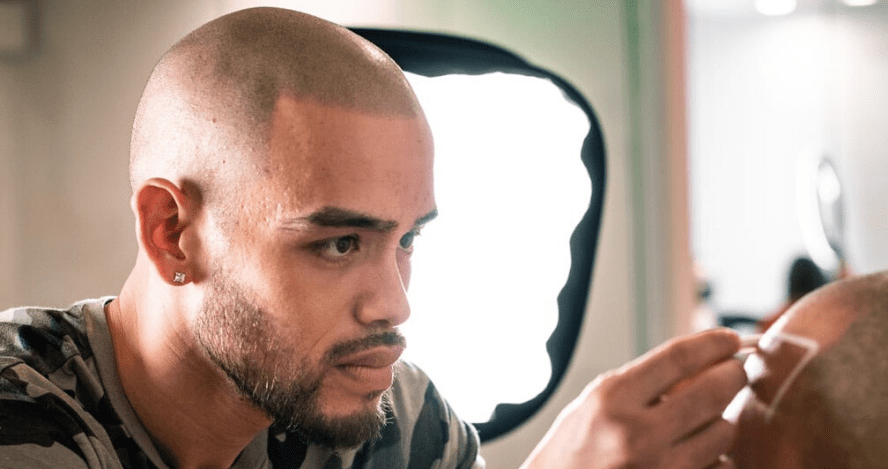
Next, your scalp micropigmentation specialist will start creating a blueprint for your new hairline. They’ll typically use a white wax pencil to design your hairline. Then, you and your specialist will work together to hone in on the perfect hairline position for you. Once you’re satisfied with the hairline mockup and you’ve confirmed the design, your specialist will start preparing for the treatment.
SMP Treatment Preparation

Before any needles hit the canvas, your specialist will evaluate any requirements for pigment and density. They’ll also examine your scalp for any blemishes or scars around the treatment area.
The Scalp Micropigmentation Treatment
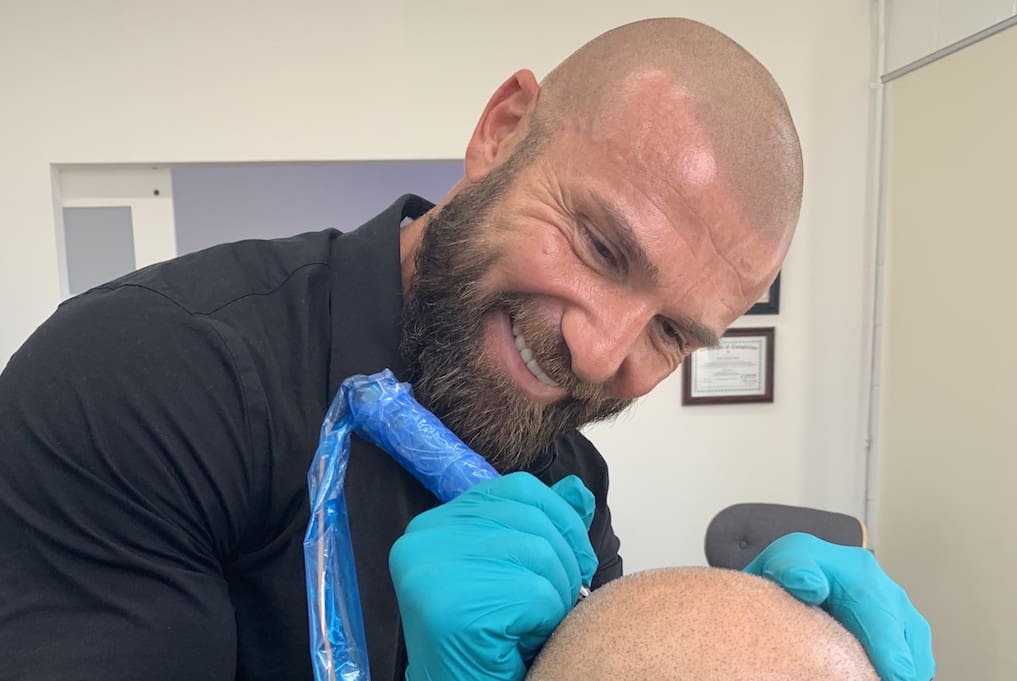
Once your specialist has set up the machine and prepared the pigment, they’ll be ready to get started on treatment. The first session usually lasts around 2 to 3 hours. During this time, you can relax while your specialist applies the first layer of pigmentation.
Your specialist will check in on you throughout the treatment and give you a few breaks. You can grab a light snack or go to the bathroom as needed throughout the session.
After Your First Scalp Micropigmentation Session
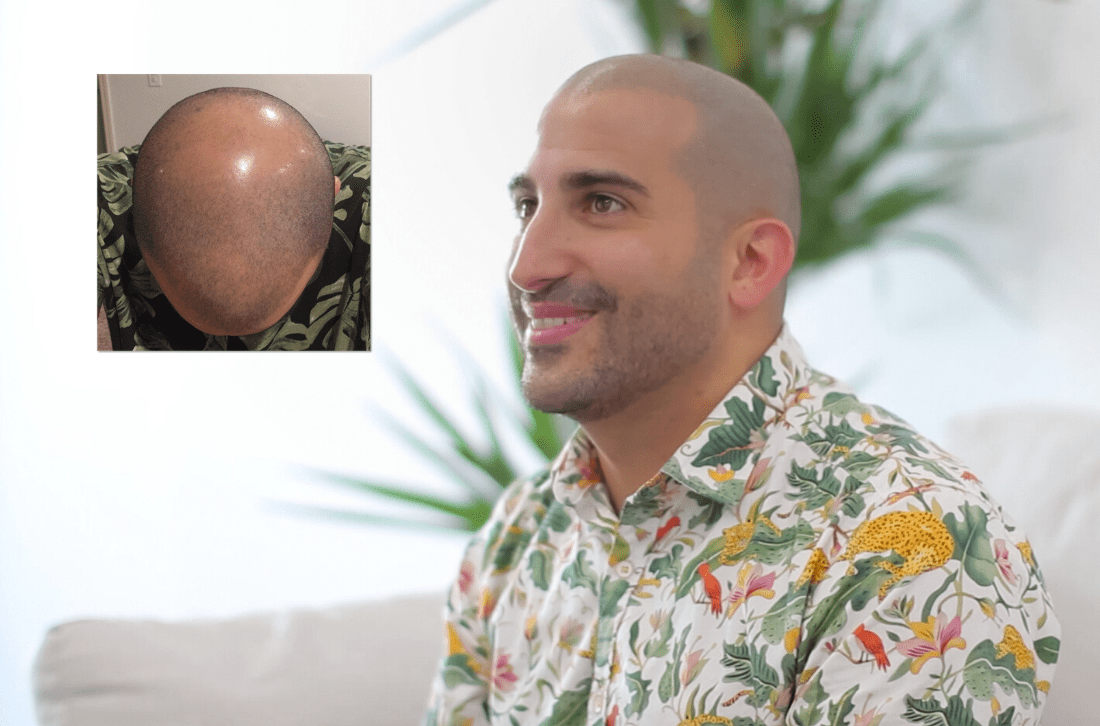
When your session is done, your specialist will give you instructions to follow until your next session. Aftercare instructions may include keeping your scalp out of direct sunlight, refraining from excessive sweating, and avoiding scratching your head.
After your first session, you’ll come back within the next 10-14 days for your following session. The next 2 to 3 sessions will ensure the pigment is retained in the scalp for long-lasting results.
If you have any questions about the first scalp micropigmentation session, you can contact your specialist. At Scalp Micro USA, a team member is available to help you no matter what step you’re at in the process. That way, you can rest easy knowing what to expect at your scalp micro pigmentation treatment session.
Tired of hair loss?
Get the perfect hairline, 100% guaranteed, with our scalp
micropigmentation treatment that is customized just for you. No more
crazy combovers. No more ineffective medications. Just results.